Motivation
The primary motivation for this project was to learn PCB design. I originally wanted to start by designing a brushless encoder based electronic speed controller (ESC), similar to the open source ESC used on the MIT cheetah. However, I quickly realized that this was too ambitious for my first ever PCB. Instead, inspired by these two projects I began making my own PCB business card.
Creation
I used a software called EasyEDA which is completely free to design my PCBs. The software was easy to learn with a plethora of videos available online. The software also syncs directly with JLCPCB which makes ordering the PCBs super easy.
Designing the schematic
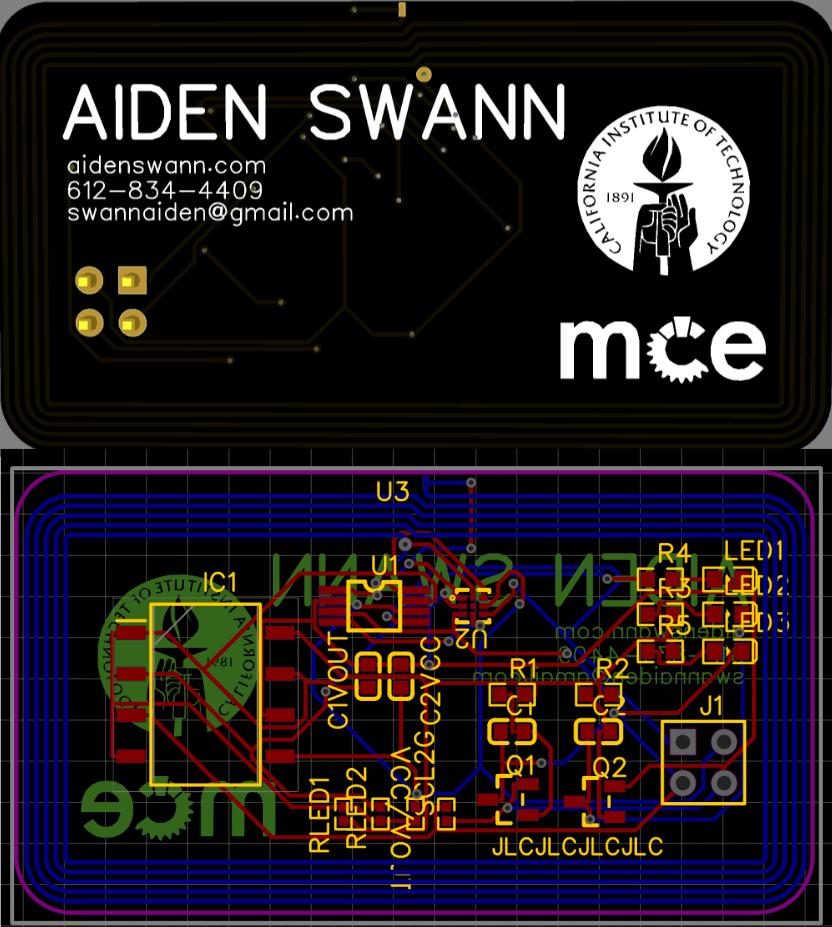
The first step to making a PCB is to choose components and create a schematic, a drawing in which you tell the software how you want components in the final PCB to be connected. A list of the components I used for the project can be found here. The most important component is the RFIC transponder. This chip is connected to the antenna printed on the circuit board and is responsible for communicating over RFID. There are two other optional circuits on the device. Firstly there is a LED circuit which lights up whenever the card is in radio range of a phone. Secondly there is a oscillator circuit consisting of 2 LEDs, 2 resisters, 2 capacitors and 2 transistors. The purpose of this circuit is to create 2 flashing LEDs when the antenna is in field range. The full schematic can be seen below

Making the PCB
Once the schematic is complete designing the PCB is a breeze. Using EasyEDA you can drag and drop the components onto the board. I used the auto-router which automatically connects all the components with traces. Finally my name and information are added in the top silkscreen layer.

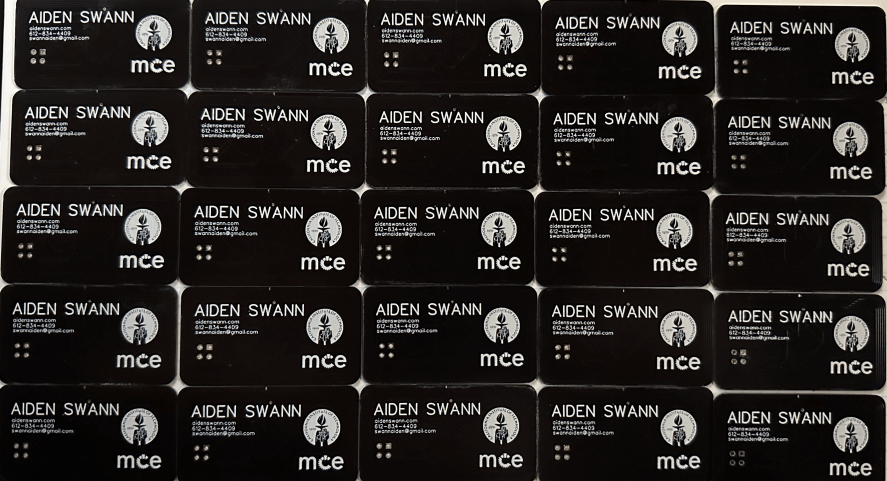
I got an incredible deal for the production of these PCBs. Only $2 for 25 boards including shipping from Hong Kong to Los Angeles, this deal was definitely an exception. However generally PCBs are fairly cheap. I ordered the components from Digikey. Overall the cost per board was around $2. Below is a picture of all 25 boards.

Soldering the individual surface mount components was a little challenging. The smallest components on the board where 0603 which is 2mm x 1mm in size. I found the key was using a lot of flux with a high quality solder.
Results
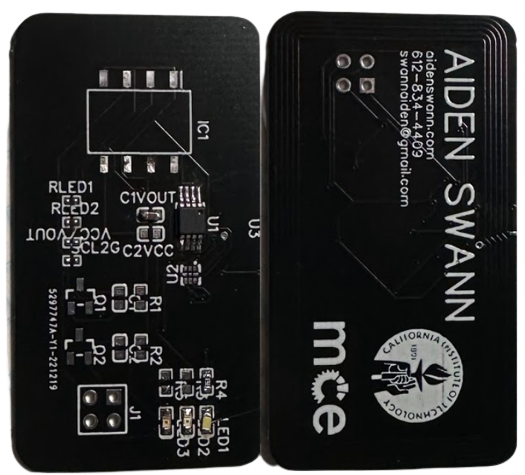
After completing the board the RFID chip can be programmed with a variety of data including, wifi information, virtual business card, web link, etc. For this card I programmed the RFID chip to link to this website. Here is an image of the completed board.

A video of the RFID link working can be found here

